Spain on Foot: Taking the Road Most Traveled By (and still finding a unique shot)
I’m going to go out on a limb and assume that most of us travel photographers hope to return from our destination with photos that are unique, creative, and representative of our personal style, as well as our individual experience abroad. There are more than a few ways to accomplish this goal, one of which I covered in my previous post, Spain by Automobile. Sure, if you get off the beaten path you will most certainly find plenty of unexpected visual treasures. But this is Spain, after all, and your collection is going to look mighty lean without some cathedrals, a bull ring, a bit of Gaudi for certain, and a splash of Dali’s artwork. No problem, indeed. These landmarks and symbols are easy to find. They’re in every tour guide, hand drawn as cartoons on hundreds of maps that litter the lobbies of hotels and hostels, and described in detail on tripadvisor, lonely planet, wikitravel and the like. Just plan your trip, show up, and voila! the photographic beauty you’ve been promised, in all its obvious glory.
This fairytale, of course, is just too pretty to be true. The chief reason being that these places, these world-famous destinations are covered with, slathered in, and otherwise bursting with tourists. Unfortunately the thing you want about as much as a case of bed bugs when you are trying to capture the unique culture of this one, specific, minute corner of the universe is a massive, fluorescent (travelers wear some ugly clothes) melting pot mob blocking your frame. And God help you if some faction of this mass are members of the ipad photography club, constantly floating rainbow colored rectangles above the heads of the other onlookers, turning your shots into some kind of 8-bit horror. No sir, you will have to find some solution to the crowd problem. But when you do you are likely to run into impediment # 2: “I’ve seen all this before.”
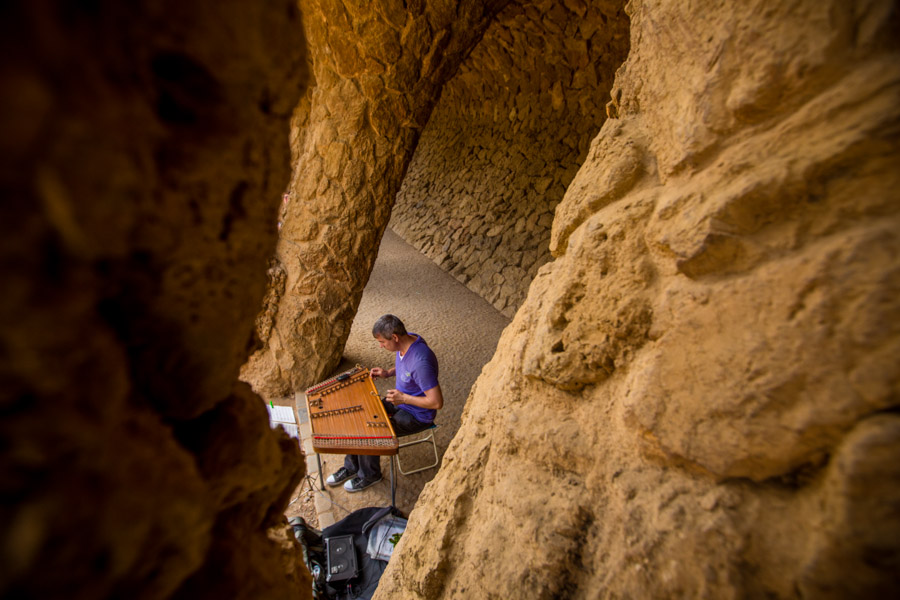
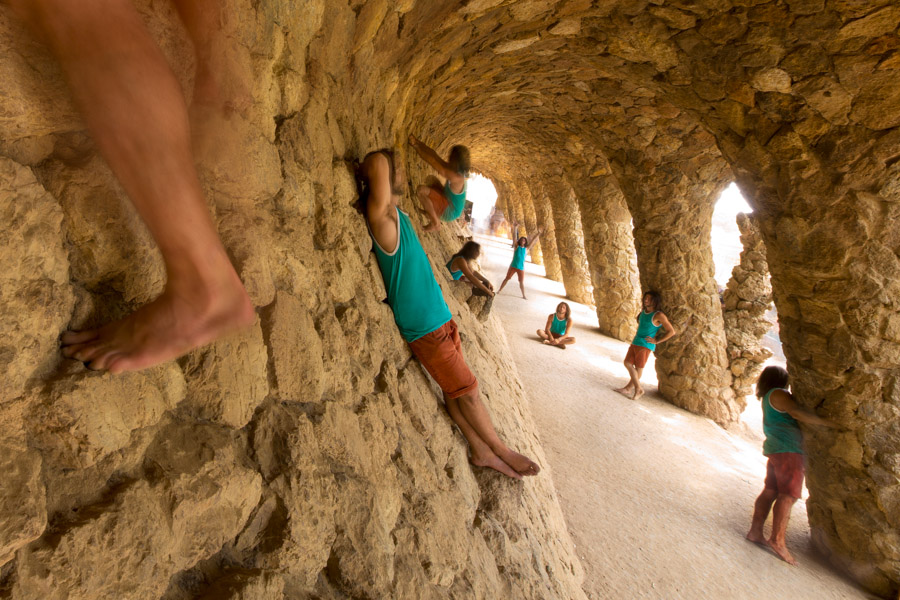
With the anticipation of a kid waiting extra years to open his Christmas presents, watching them stew in loneliness beneath a slowly shedding, eventually rotting pine in the living room, I had long awaited my visit to Barcelona, to photograph the work of Gaudi, especially Park Güell. It is a playground of the beautiful and abstract, one of Dr Seuss’s wonderlands come to life in the third dimension. But, like that kid, who would open his presents years later to find old toys and books he’d already read or played with at friends’ houses, I arrived at Park Güell, similarly disappointed, to find it had already been photographed to death. Where I expected to explore unending creatively abstract angles, I instead saw, at every turn, one of the same thousand shots I recognized from a book, stock site, or postcard, and once again, packed with people of the colorful, bustling type. After an hour of searching, and taking these shots anyway in a rote defeated manner, I sat, rested, and started thinking of solutions to the two problems. So you know what that means. That’s right boys and girls, it’s another list! How to photograph the tourist sites like a non-tourist:
1. Avoid the Crowds
Okay I know, it sounds like I’m cheating on this one, but the simplest answer is often the best. If there is any way you can avoid the crowds, do so at all costs. Not only will your photos be exponentially easier to take, but the personal experience and connection you will have with the space is unbeatable. Ever seen Santorini at sunset with hundreds or thousands of others gathered for the same view? Now, have you walked those same smooth marble streets, alone and barefoot, in a cool blue evening breeze two hours later, after the cruise ships have gone, and most tourists have motorbiked or bussed back to Fira for the evening? I’m sure you can guess which one I prefer.
The best ways to avoid the crowds: Show up very early (an hour or two before sunrise should do it), stay very late (same hour or two after sunset), or go in the off-season. Bryce and Zion National Parks were amazingly empty and gorgeous in the snow, for example. Alternatively, you can always look for a less-explored corner, detail or side-street. Despite the massive numbers of tourists around, I find the beaten path tends to be an extremely narrow one, and it often requires only a couple of quick sidesteps to avoid it. One final note; tourists often travel in big groups, which means they come in waves. Set up your shot and wait in place for 10-30 minutes, and you’ll usually have 3-5 minutes all by yourself before the next wave descends.
2. Use the Crowds – Find the Human Element
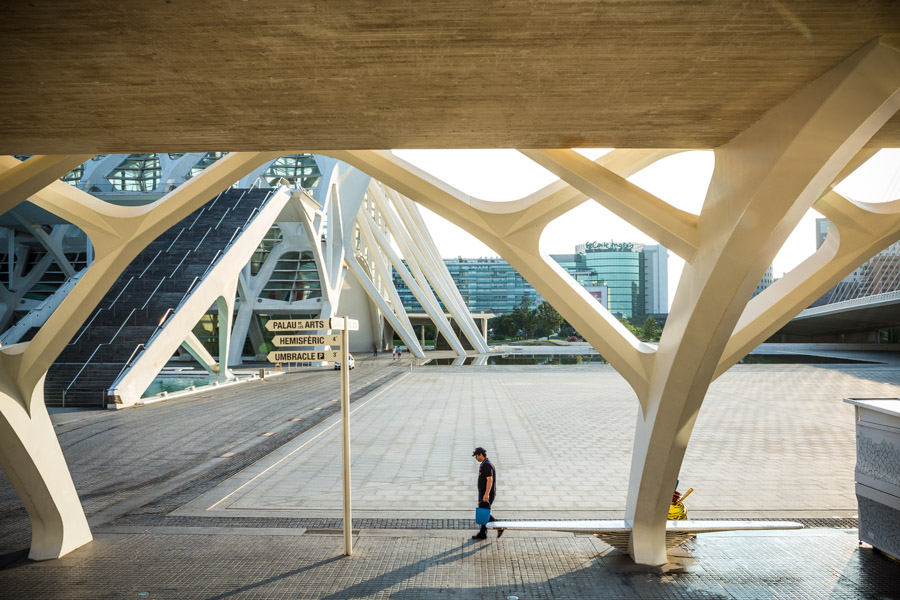
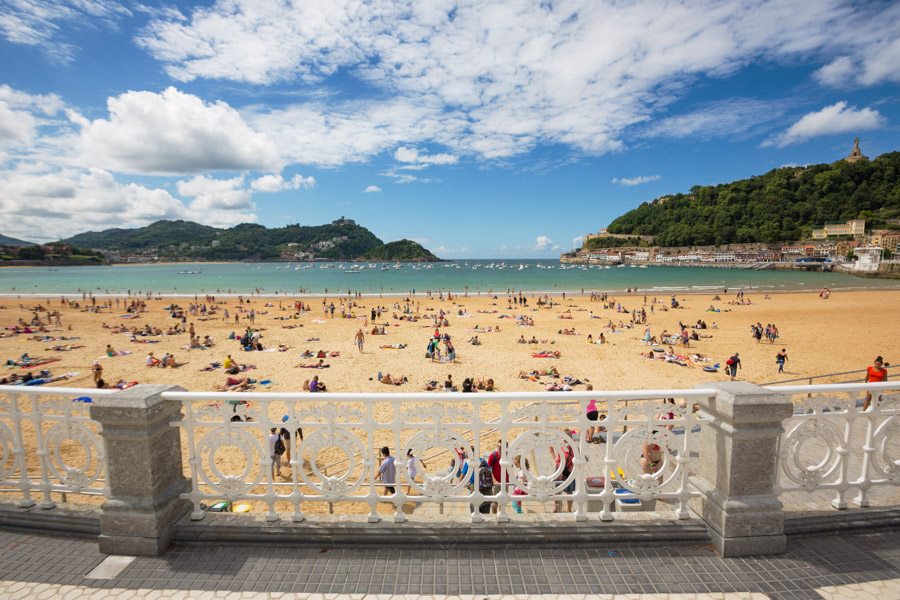
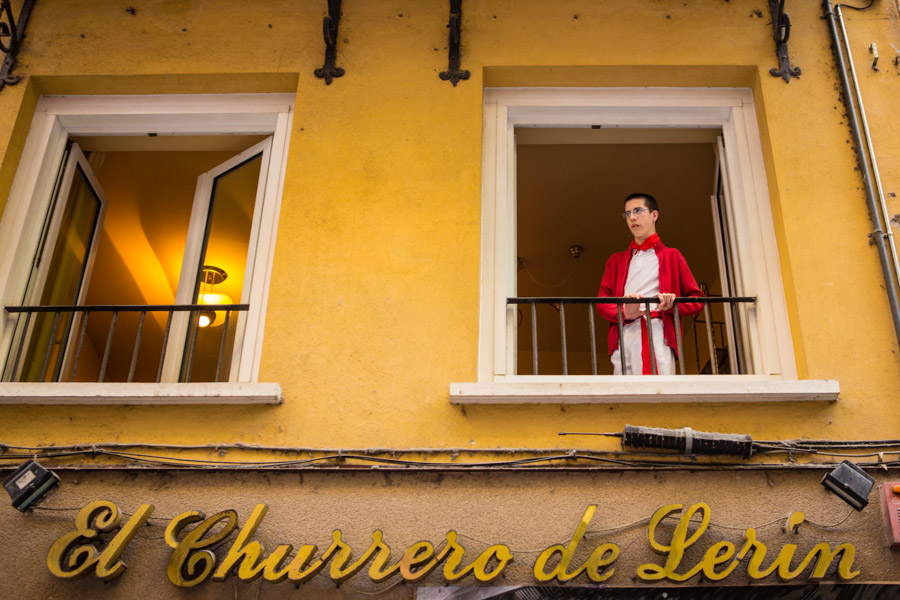
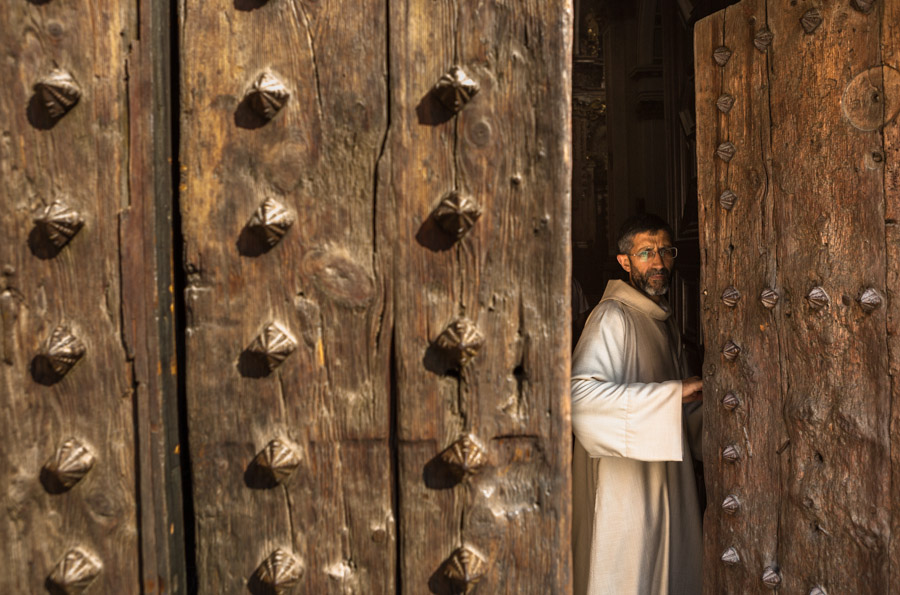
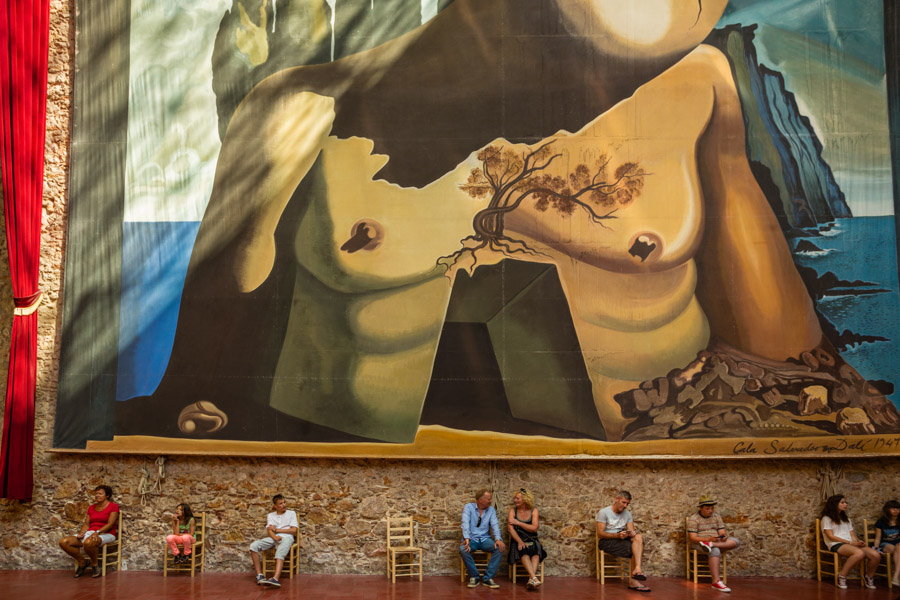
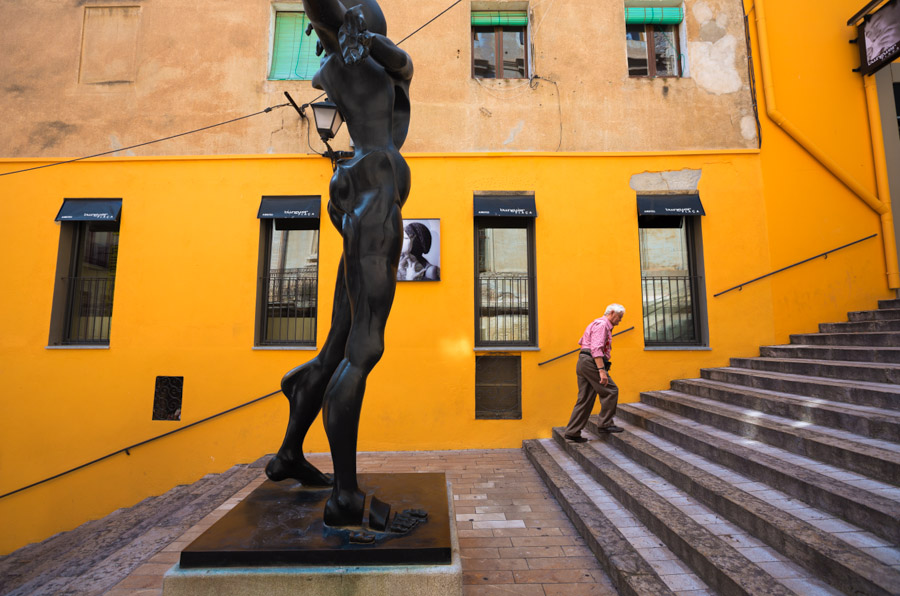
If you can’t beat ’em, shoot ’em. Sometimes a few people in front of a huge sculpture or natural phenomenon, Like the Lincoln Memorial or Delicate Arch, are necessary to exhibit a sense of scale. In other instances it can be more interesting to see someone admiring the painting, building, or stunning view than is to have a stark, empty photo with a single subject. Anyway, there ARE people there. That’s a fact. If you want to show the reality of the world, you can’t do so by pretending the world is different or empty. So wait for an interesting local, look for a pretty hat, or find that worker, priest, goat-herder, shop owner, or security guard who is going to make your photo different from the rest. Somebody may have stood in this exact spot with a 24mm lens before, but never at this exact time of morning, also on a Tuesday, when one lone man was mopping up the grounds in preparation for a new day’s crowd to arrive.
3. Long Exposures
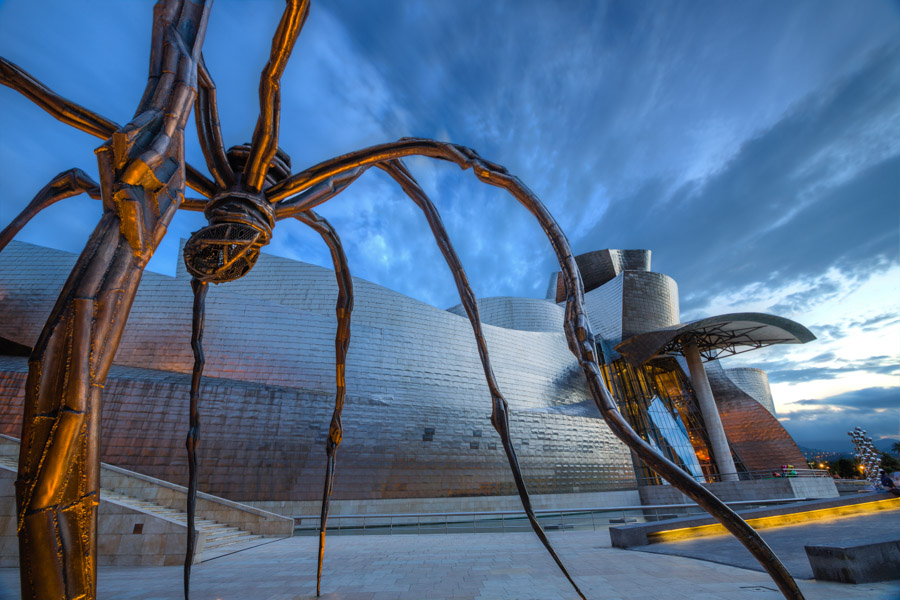
A sturdy tripod is your best friend, and it has some magic tricks up its carbon fiber sleeves. Use it to take an exposure longer than a half second or so and watch the crowds turn into soft, flowing rivers that just might enhance your shot rather than block it. Pop on a neutral density filter, extend your exposure to 30 seconds, a minute or more, and with a flick of your wand (cable release), everyone disappears! Think the Guggenheim walkway was really empty at sunset? Not a chance. In addition, that tripod will also help you at night, when the stars come out and the tourists go home.
4. Go Abstract
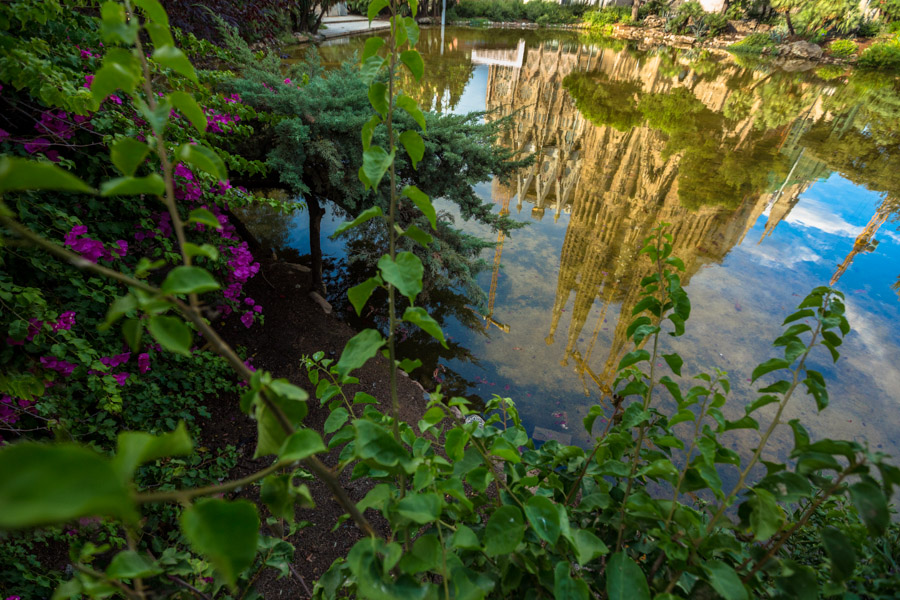
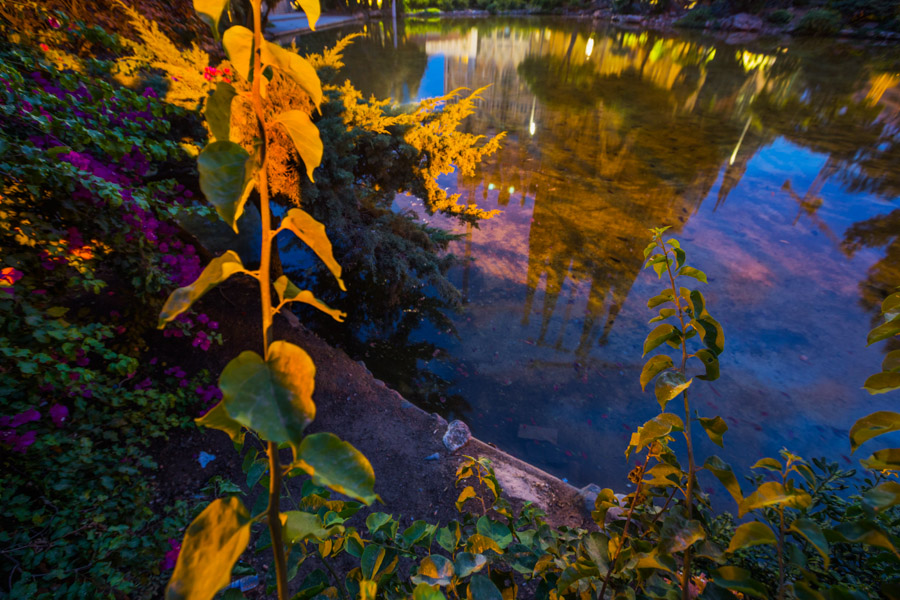
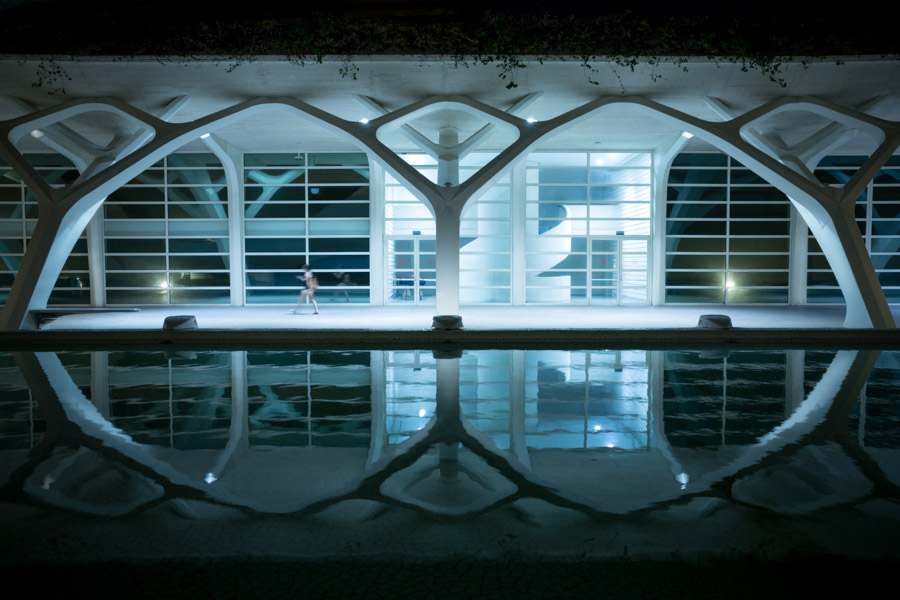
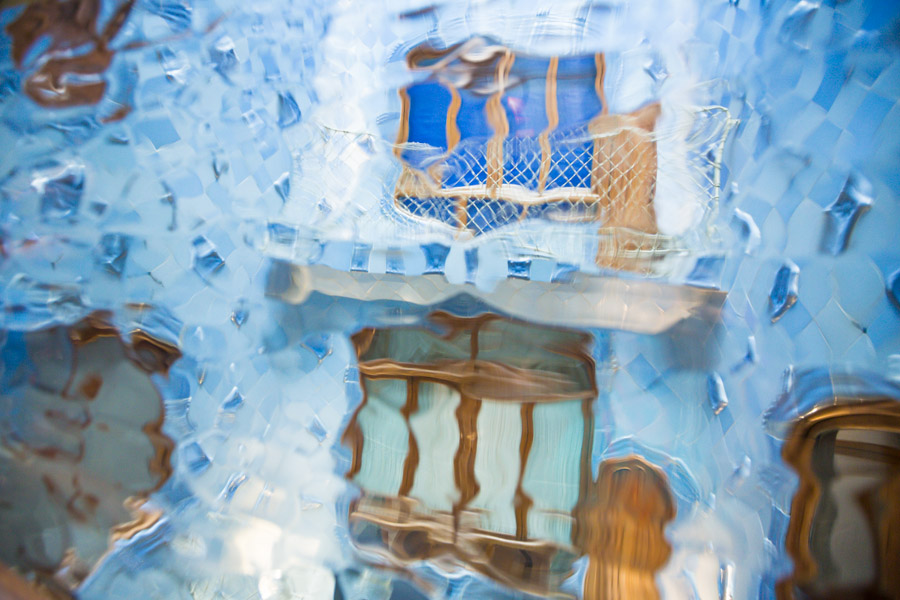
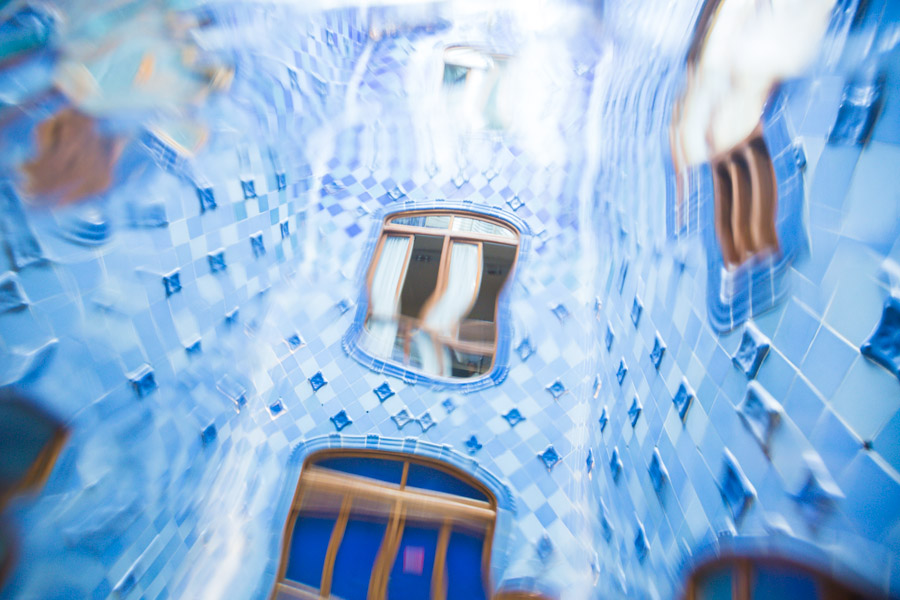
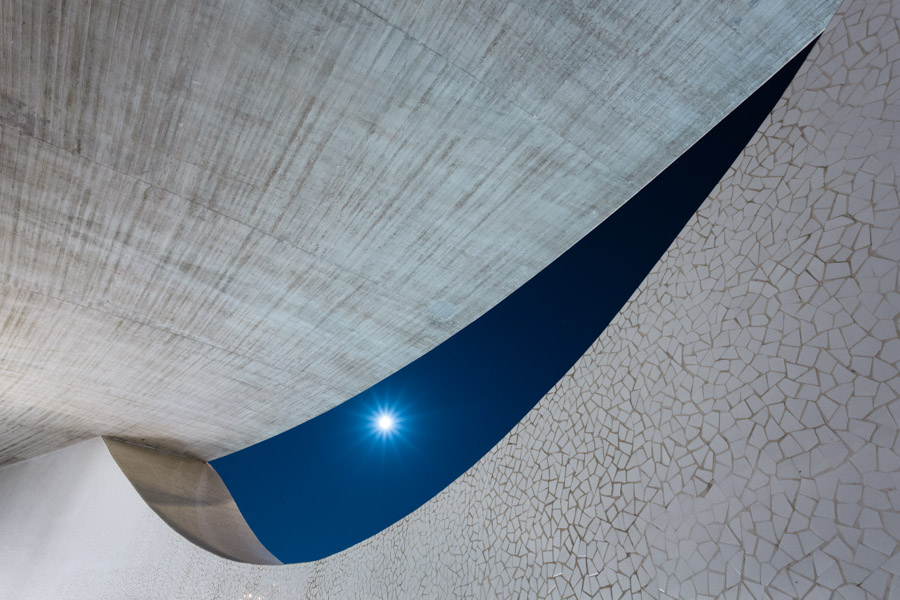
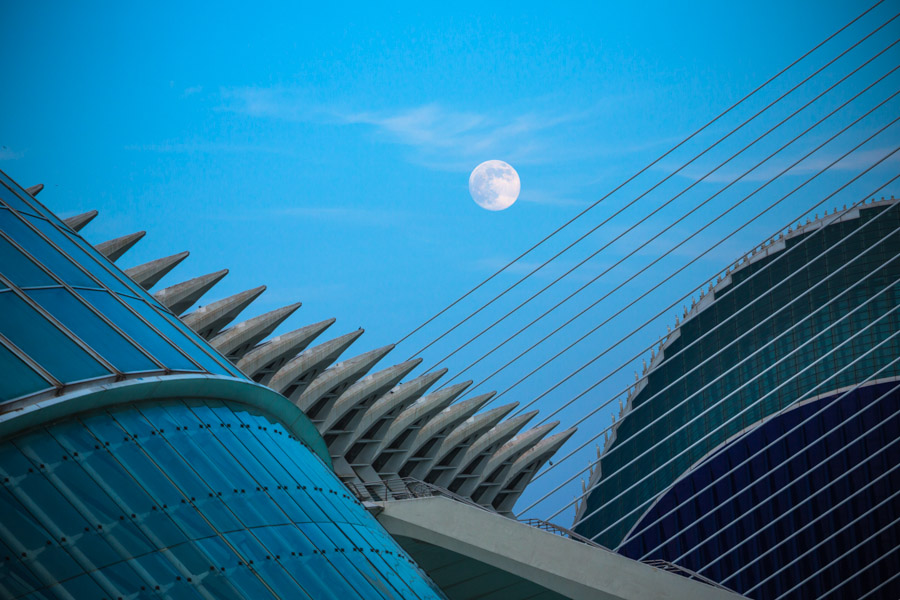
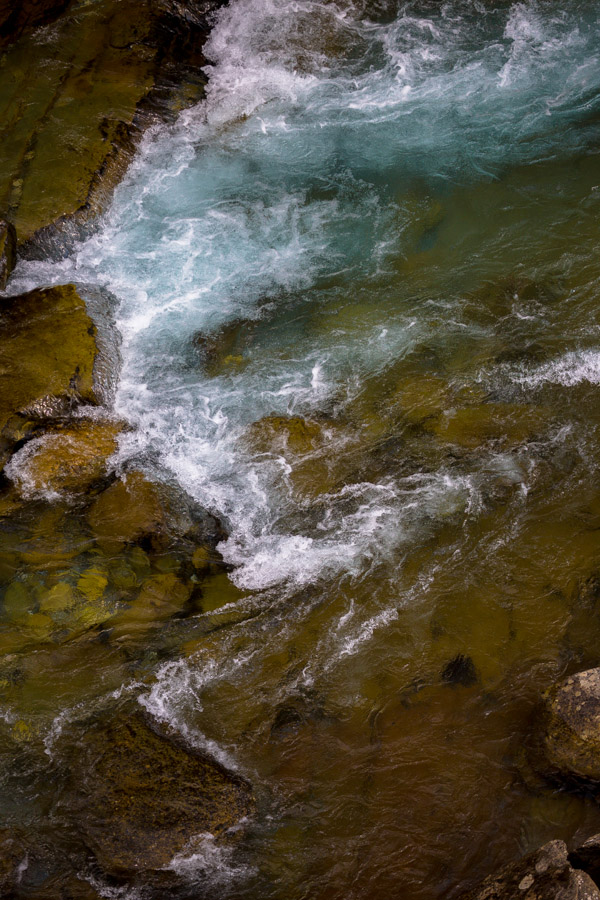
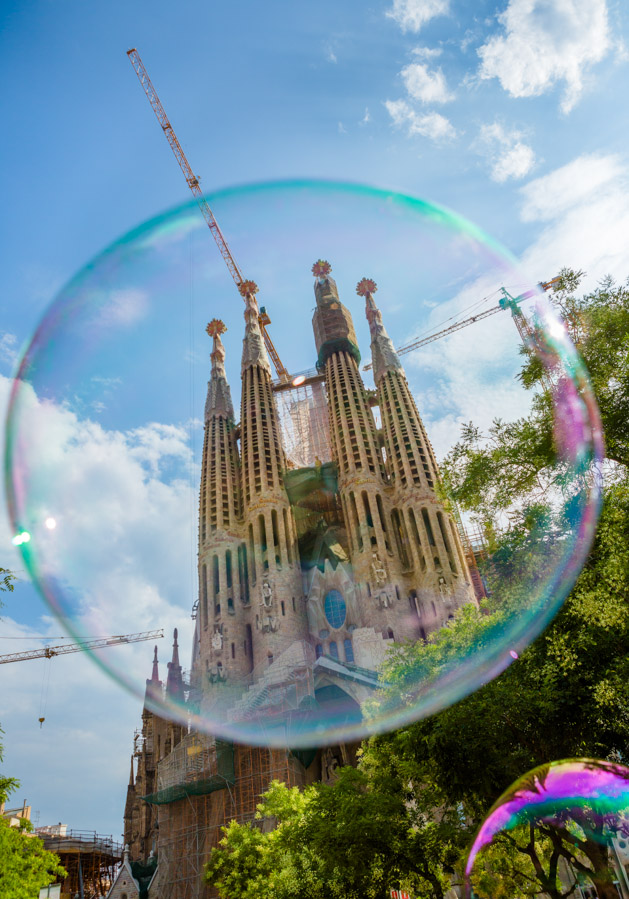
Maybe this famous river has been on more magazine covers than Madonna, but how many people have really looked hard at the letter E pattern the water makes as it streaks over the rocks under golden hour light in this particular bend? And I’m sure you’re the first (well, now the second) to use the full moon as the iris of an abstract eye made of a piece of the Museo De Las Ciencias in Valencia. And while you may not be the very first (or hundredth) person to notice how the blue stairwell in Casa Batlló looks like it’s underwater when viewed through the curved glass, your photo is certainly the only one of it’s exact kind. Yeah, just like a snowflake.
5. Get Creative
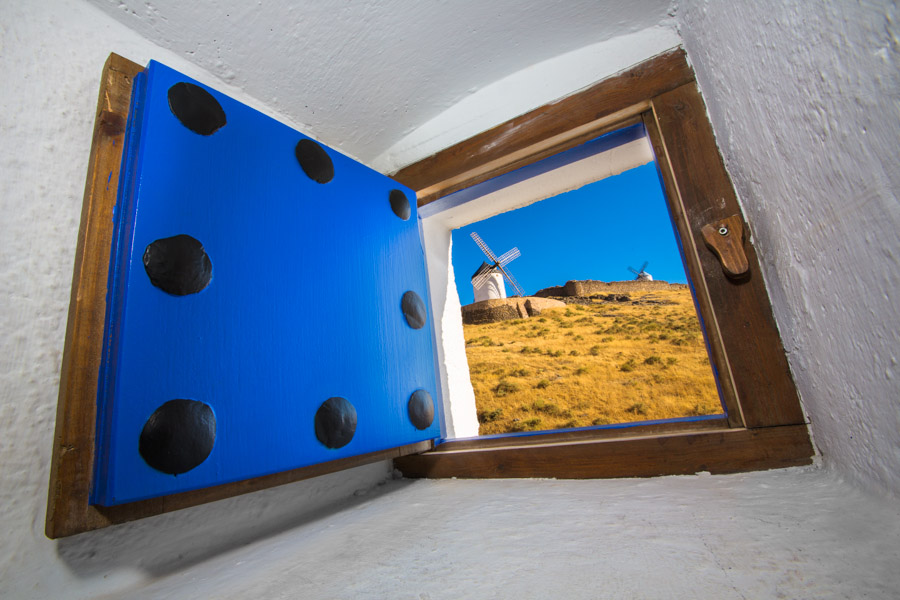
No, I cannot tell you exactly how to be creative. That’s the whole point. Mix and match the previous four ideas, do a moving shot, or a zooming one. shoot out of focus, or through the reflection of a security guard’s sunglasses, or upside-down. Paint with light, or try multiple exposures. Find an insect, or a broken fence. Put your camera on a timer, spin around in three circles, and toss it in the air just before the shutter releases. As soon as you are completely out of ideas, close your eyes and picture yourself showing up to the final day of school, to the classroom of your hardest and most motivating teacher, and telling her that you couldn’t complete your travel photo assignment because “there just wasn’t anything good there to shoot.” Hear her scoff at how ridiculous you sound while she gives you a failing grade. Open up your eyes and think of something new. Something that is your own. Then shoot that.
Happy Travels,
-Evan
Comment
Beautiful, all around.